Removing a salt cell from your swimming pool’s chlorine generator is a routine maintenance task essential for cleaning calcium deposits, inspecting electrode plates, and winterizing your equipment. To perform this correctly, you must isolate the plumbing, relieve internal pressure, and disconnect the electrical interface before physically unscrewing the unions to release the cell from your filtration line.
Understanding the Salt Chlorine Generator Environment
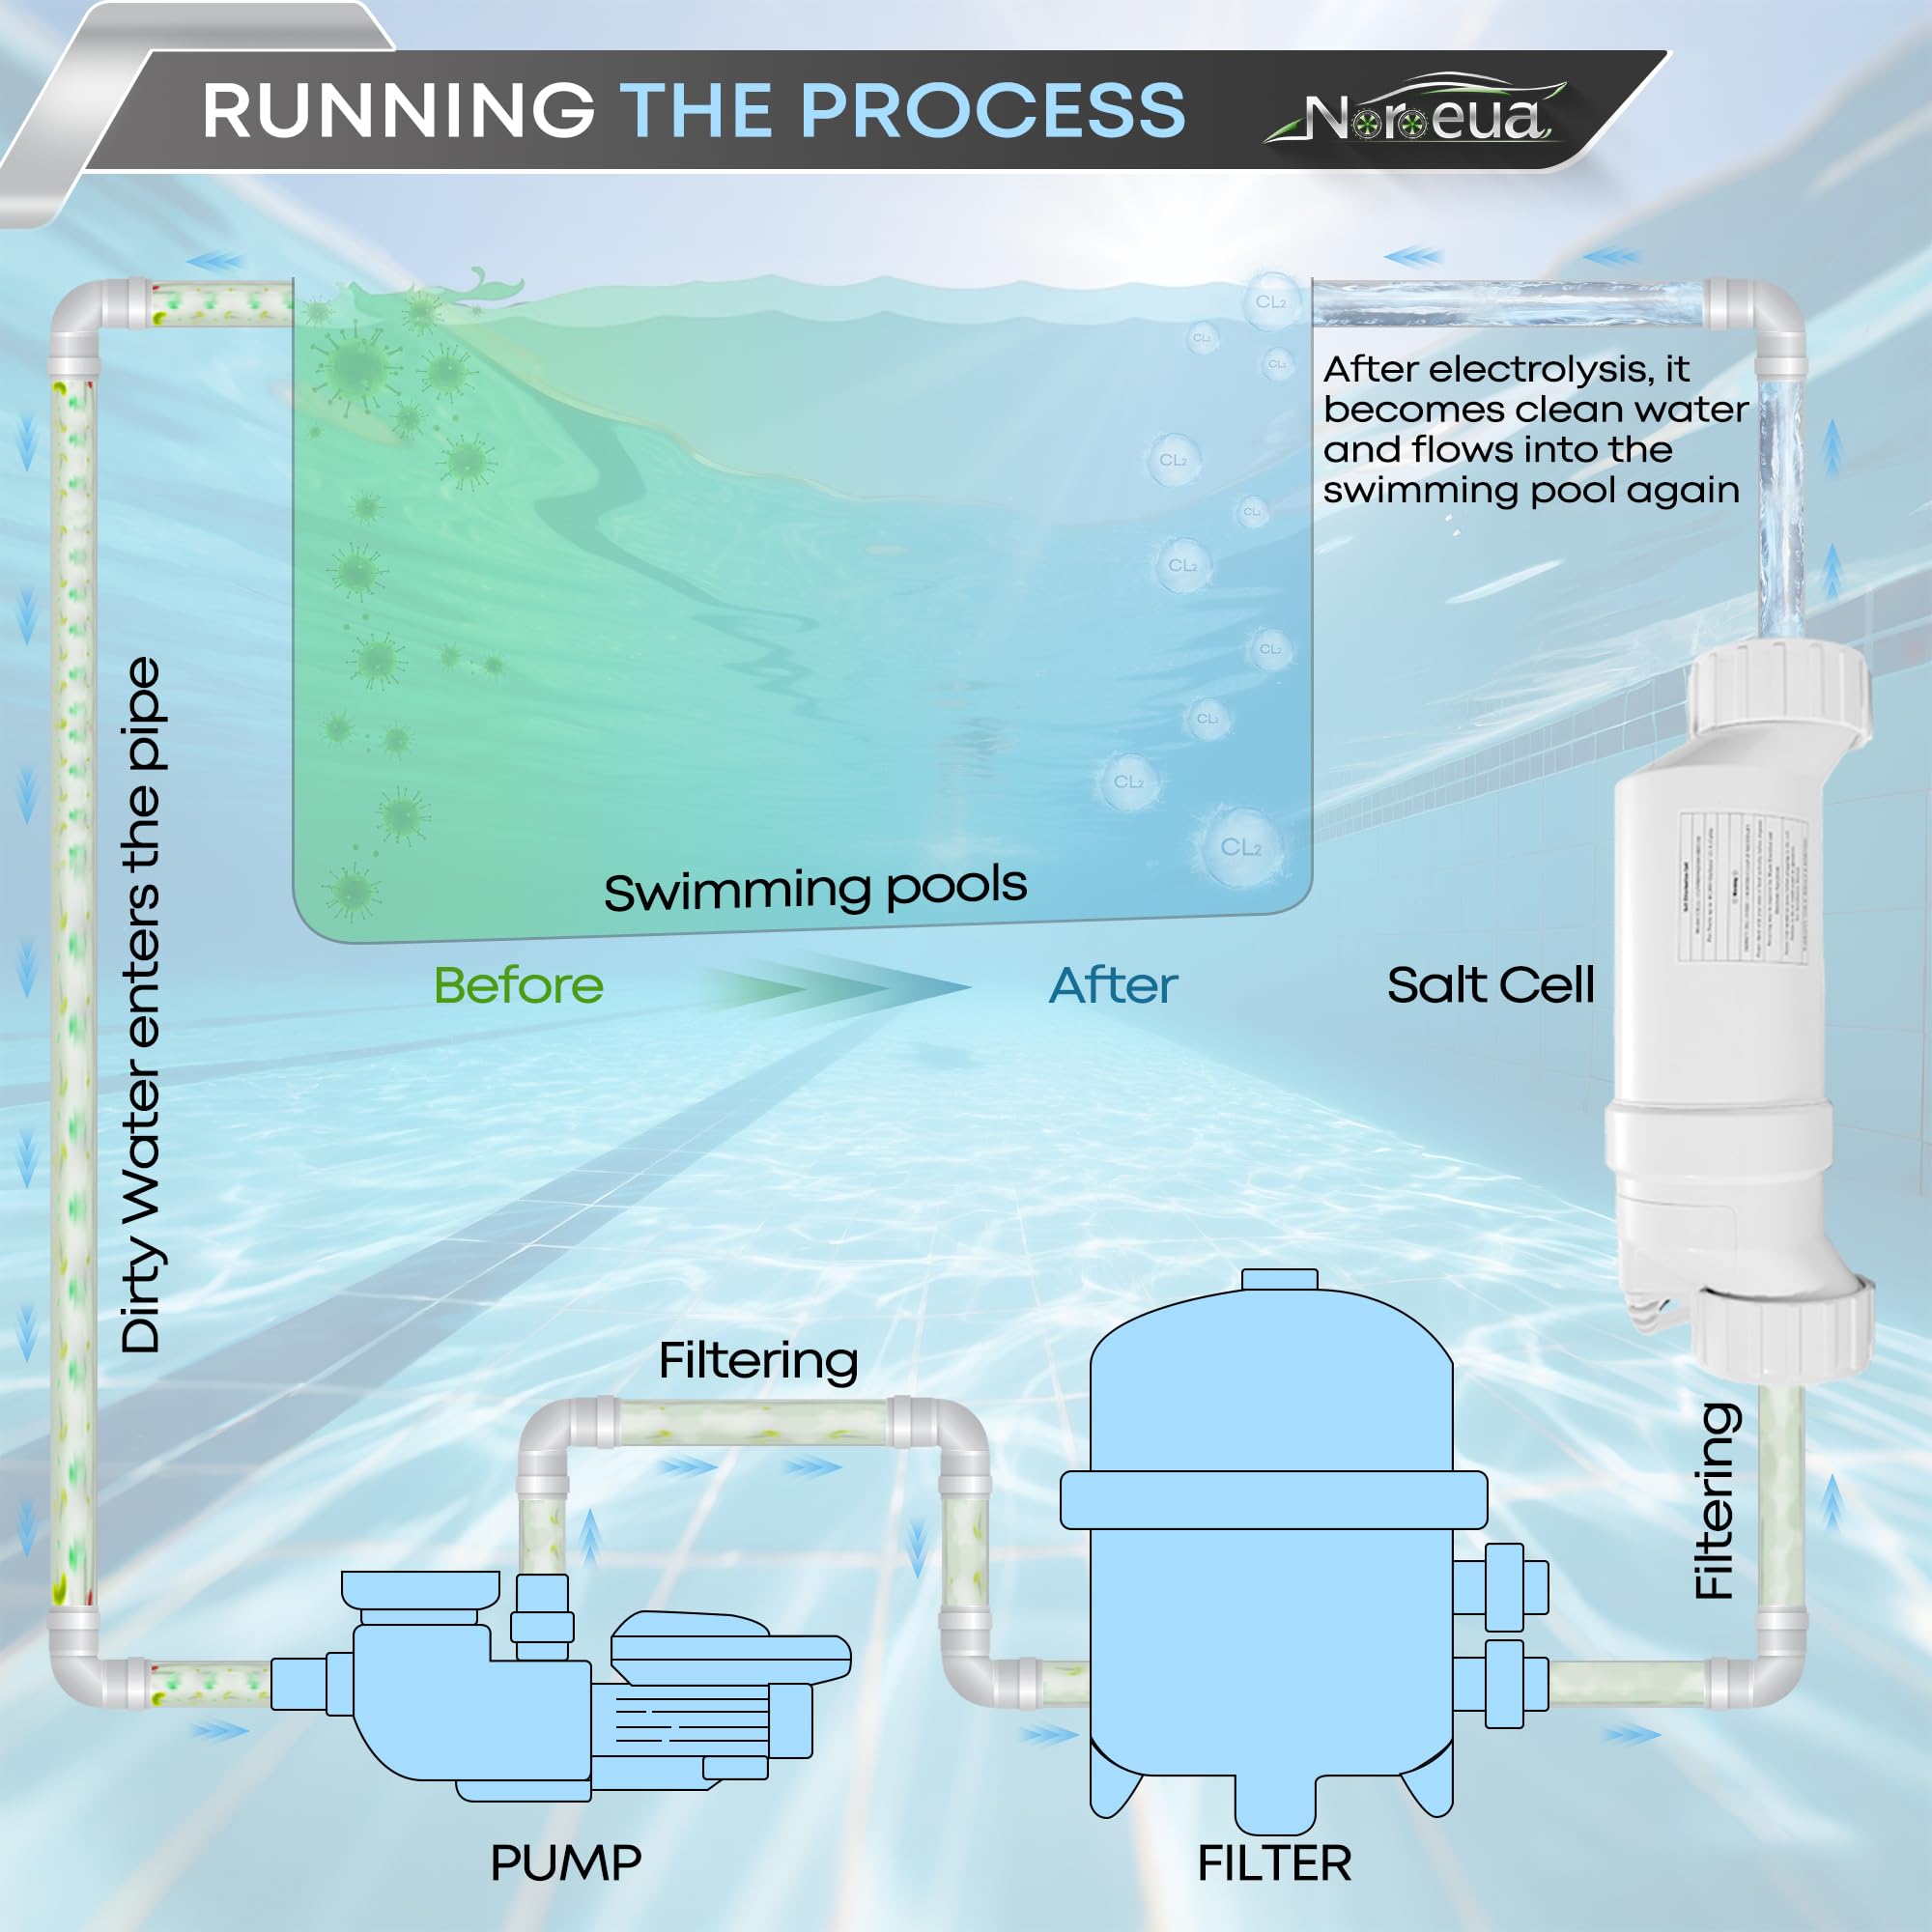
A salt cell is the core component of a salt-based pool sanitation system. It functions through electrolysis, where salt water passes over titanium plates coated in precious metals, such as ruthenium or iridium. As the water passes through this electrical charge, the salt (sodium chloride) is converted into chlorine. Over time, particularly in pools with high calcium hardness or improper pH levels, this process creates white, crusty calcium scale on the plates.
Removing the cell is necessary when the chlorine output drops, the "check salt" or "inspect cell" indicators trigger, or you are closing the pool for the winter season. Because the unit is a pressurized component of your plumbing, failing to follow the correct sequence can lead to water leakage, damaged unions, or electrical shorts.
Essential Safety Prerequisites
Before you begin the physical removal of the salt cell, you must ensure the system is in a "safe state." Pool equipment operates under significant pressure and involves high-voltage electricity; therefore, safety is not merely a recommendation but a mechanical requirement.
- Turn Off Power: Locate the main circuit breaker for your pool pump and the salt chlorine generator power supply. Simply turning the control panel to "Off" is often insufficient. Flip the physical breaker to ensure no accidental activation occurs while your hands are inside the plumbing.
- Relieve Pressure: Even with the pump off, your pool filter vessel likely holds pressurized air and water. Open the air relief valve on the top of your pool filter to bleed off any residual pressure. This prevents the "geyser effect" when you break the union seals.
- Isolate the Plumbing: If your plumbing configuration includes shut-off valves before and after the salt cell, close them. This prevents water from the pool or the return lines from back-flowing while the cell is removed. If you do not have valves, be prepared for water loss.
Tools Required for Removal
While many salt cells are designed for "tool-free" removal, the reality of environmental exposure—sun, heat, and chemical moisture—often requires basic tools.
- Large Channel-Lock Pliers or Strap Wrench: These are used if the union nuts have been overtightened or have seized due to calcium buildup on the threads.
- Bucket: Always keep a bucket nearby to catch the water that will inevitably drain from the cell once the seals are broken.
- Replacement O-rings/Gaskets: Inspect the condition of your O-rings. If they are cracked, flattened, or brittle, have replacements on hand. A new cell often comes with new O-rings, but if you are reinstalling the old unit, having spares is best practice.
- Non-toxic Lubricant: A silicone-based lubricant is essential for O-rings to ensure a watertight seal upon reinstallation. Do not use petroleum-based lubricants like Vaseline, as they degrade rubber gaskets.
Step-by-Step Removal Procedure
Once the power is cut and the pressure is relieved, follow these steps to remove the cell from the pool plumbing:
- Disconnect the Electrical Interface: Locate the cord connecting the salt cell to the main control box. Usually, this is a multi-pin connector or a plug-in jack. Carefully unscrew the locking collar or pull the connector straight out. Do not pull by the wire itself, as this can internalize wire fatigue.
- Unscrew the Union Nuts: Use your hands to turn the large union nuts counter-clockwise. If they do not budge, use your strap wrench. Ensure the wrench is gripped on the union nut, not the PVC pipe body, to prevent cracking the plumbing.
- Break the Seal: Once the nuts are unscrewed, gently wiggle the cell body to break the seal created by the O-rings.
- Remove the Cell: Pull the cell body out of the plumbing line. Be ready to tilt it slightly so the remaining water inside the cell flows into your bucket rather than onto your electrical equipment or the ground.
- Inspect the Internal Plates: Once removed, peer inside the cell. You should see metal plates. If you see white or gray flaky deposits, this is calcium scaling, which requires cleaning before reinstallation.
Handling Common Challenges and Considerations
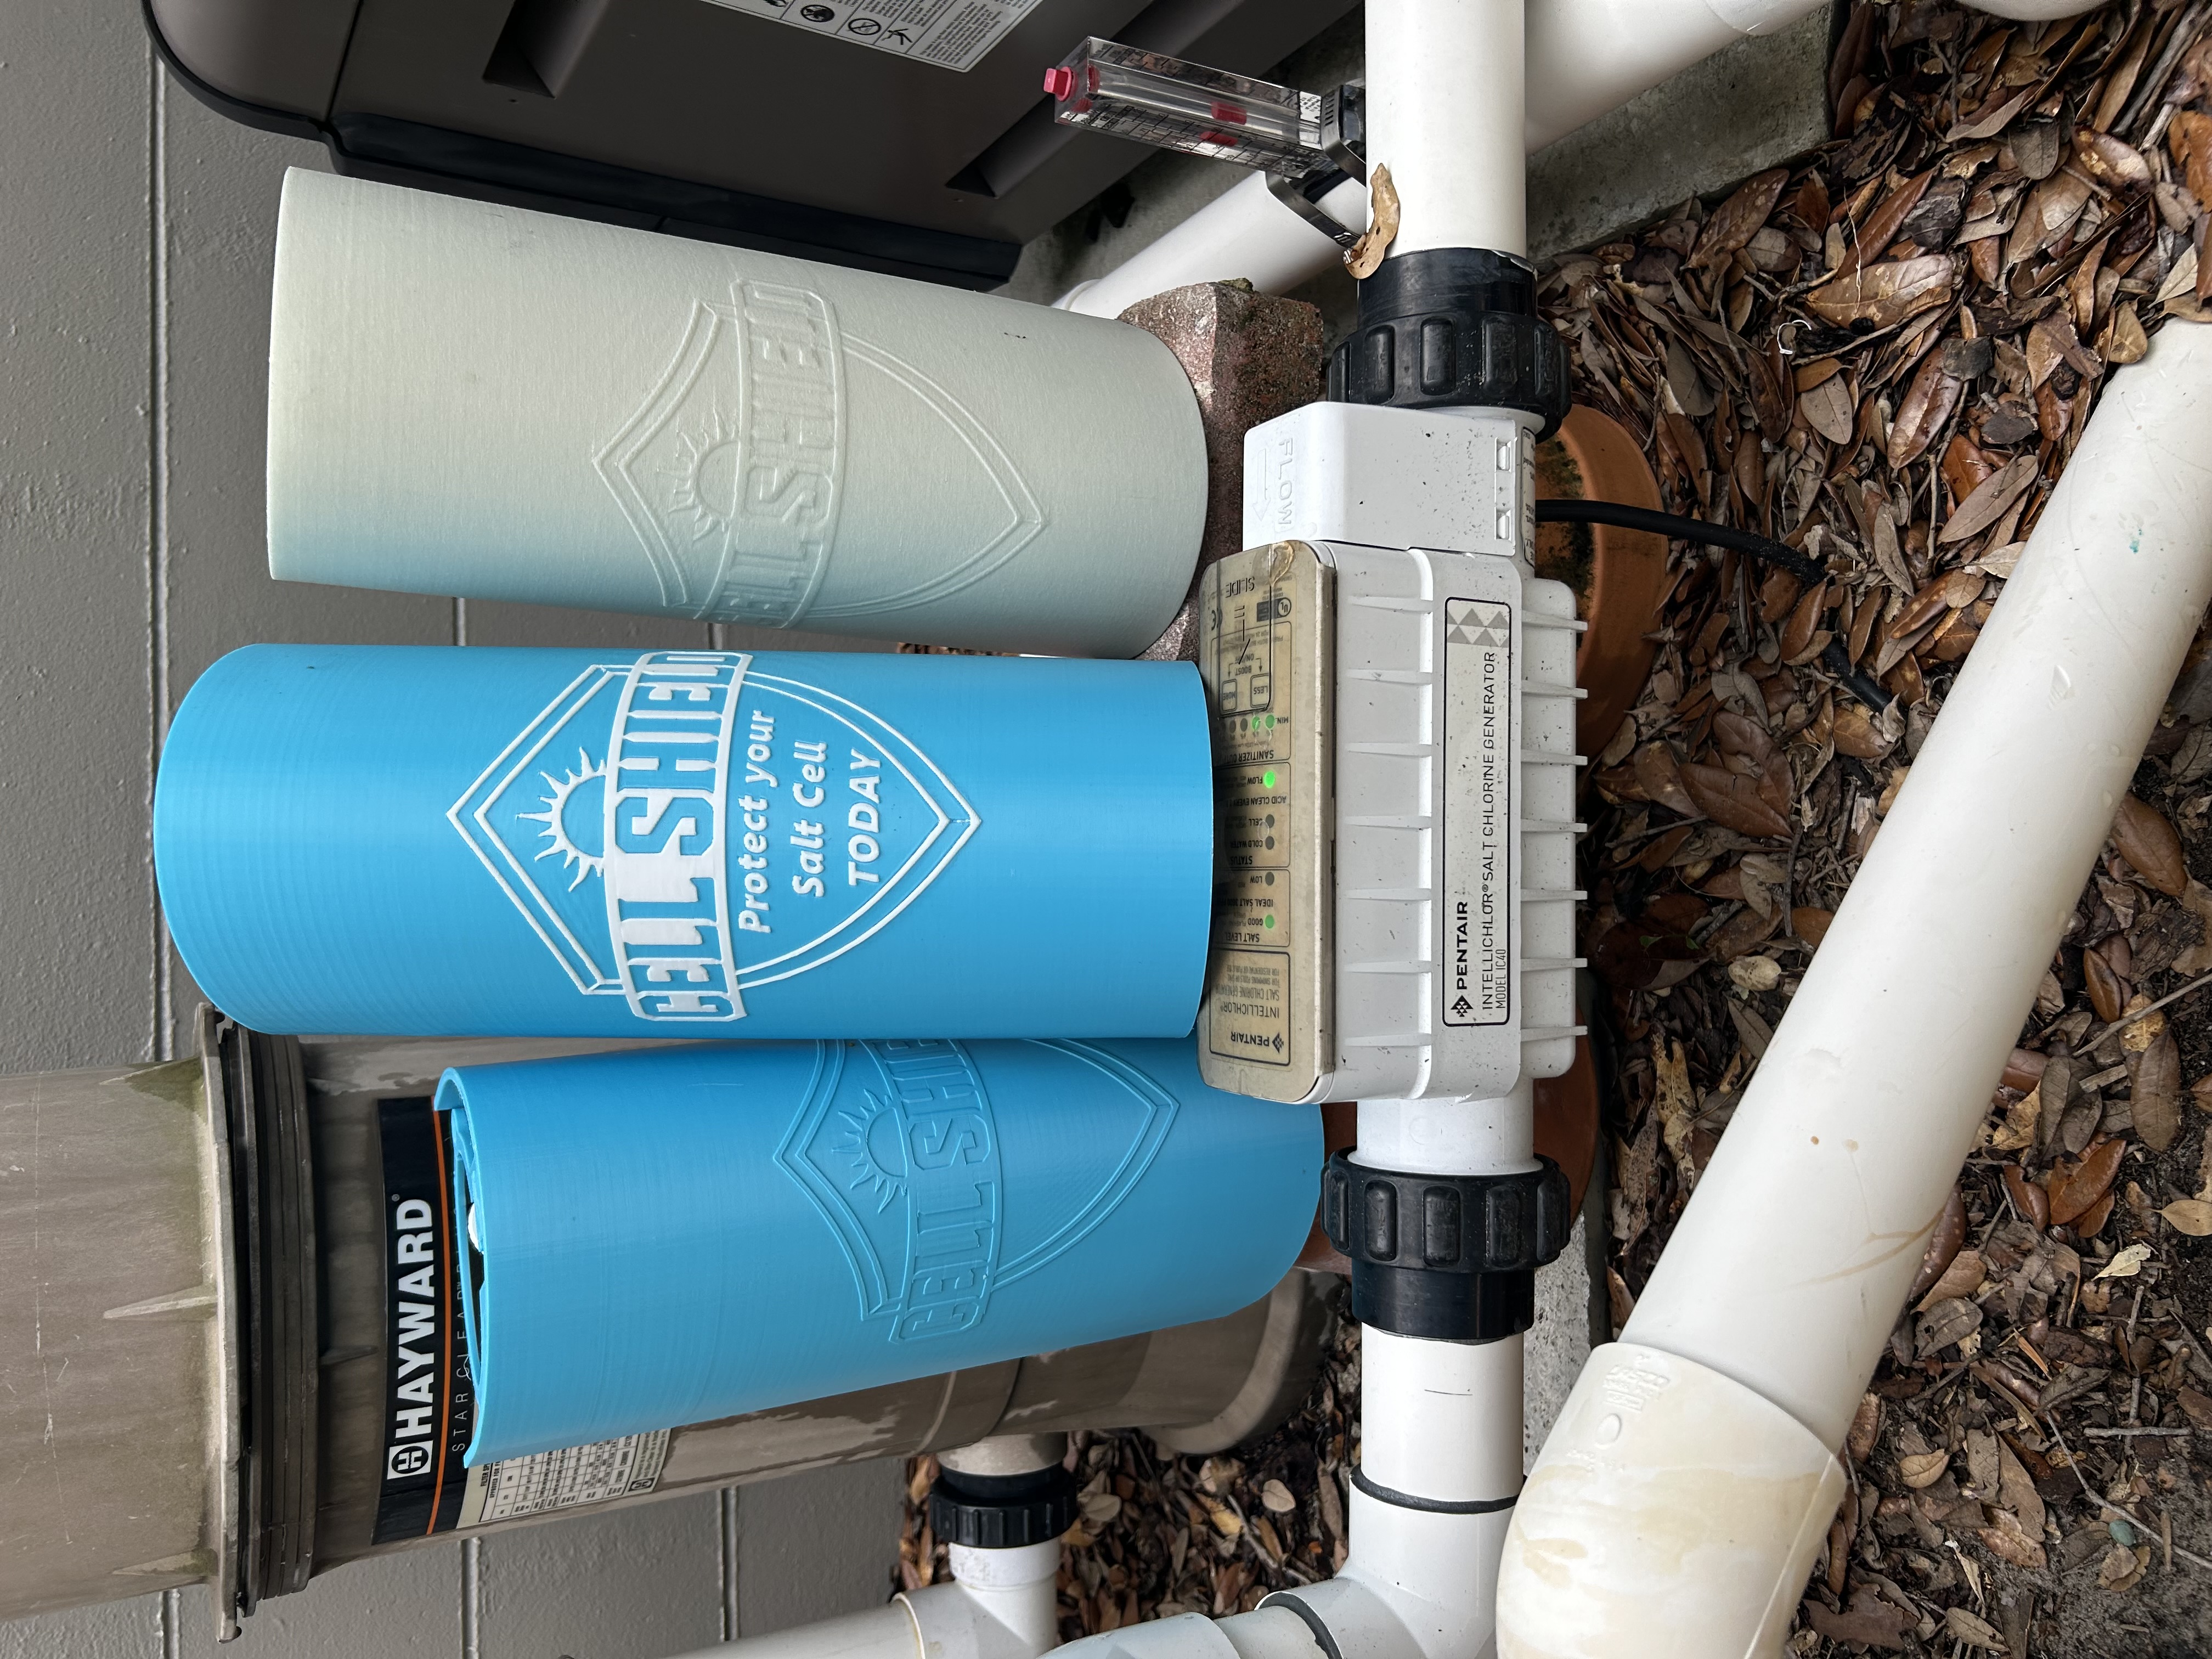
Not all pool systems are identical. Depending on your manufacturer, such as Hayward, Pentair, or Jandy, the orientation of the cell can vary.
- Horizontal vs. Vertical Installation: If your cell is installed vertically, be extra cautious during the final turn of the union nut; water will drain downward immediately. Ensure your pool pump is turned off and the area is clear of electronics.
- Stuck Unions: If you find the union nut is fused to the threads due to grit or sun exposure, apply a penetrating lubricant sparingly to the threads. Wait 15 minutes before attempting to turn it again. Avoid striking the union with a hammer, as PVC becomes brittle with age and UV exposure.
- O-ring Health: When removing the cell, note the orientation of the O-rings. If they fall out, ensure they are cleaned and re-seated properly in the groove before reinstallation. A misaligned O-ring is the most common cause of leaks after maintenance.
Comparison of Maintenance Tasks
| Task | Frequency | Purpose | Importance |
|---|---|---|---|
| Visual Inspection | Monthly | Check for scale and leaks | High |
| Acid Cleaning | Annually or as needed | Remove calcium buildup | Critical |
| O-ring Replacement | Every 2–3 years | Maintain watertight seal | Medium |
| Cell Replacement | Every 3–7 years | Replace exhausted electrodes | Essential |
Frequently Asked Questions
1. Can I use a screwdriver to scrape the calcium off the plates? No. Never use metal tools or screwdrivers inside the cell. The plates are coated with delicate materials that provide the catalytic surface for chlorine generation. Scratches will cause premature failure and corrosion. Use a plastic scraper or, preferably, an approved acid-water solution to dissolve the scale.
2. How do I know if my salt cell is bad? If your chlorine production is consistently low, your salt levels are accurate according to your water test, but the display shows "low salt" or "inspect cell," the cell may be at the end of its lifespan. Most manufacturers indicate an expected life of 10,000 hours. If the plates are visually bald (the dark coating has worn away to reveal bare metal), the cell must be replaced.
3. Do I need to drain the entire pool to remove the salt cell? No. If your plumbing system is correctly installed with isolation valves, you only need to close those valves. If you lack valves, you will lose the water currently contained within the pipes between your filter and the return, but the pool water level will not drop significantly if the cell is installed at or above the water line.
4. What is the correct ratio for cleaning a salt cell? Generally, a mixture of one part muriatic acid to four parts water is recommended. Always add the acid to the water, not the water to the acid, to prevent dangerous chemical reactions. Wear gloves and eye protection throughout this process.
5. How often should I perform this removal for cleaning? There is no fixed calendar date, as it depends on your water chemistry. Pools with high calcium hardness will require more frequent cleaning. It is best practice to inspect the cell visually every time you perform a routine filter backwash or cartridge cleaning to monitor for scale accumulation.
Next Steps for Maintenance
After you have successfully removed the salt cell, the most common next step is the cleaning process. If you observe significant white scale, submerge the cell in your diluted acid-water solution for 10 to 15 minutes. Once the bubbling subsides, rinse it thoroughly with fresh water.
Before reinstalling the cell, check your O-rings for any signs of wear. If they look worn, replace them now; doing so prevents the need to drain the system again in the near future. Ensure the union threads are clean and free of debris, apply a thin layer of silicone lubricant to the O-rings, and thread the union nuts back on by hand until they are snug. Do not overtighten with tools, as hand-tightening is sufficient to create a proper seal when the O-rings are clean and lubricated. Once secured, open your valves, turn on your pump, and check for any drips at the union joints before restoring power to the salt generator.